|
I have so far been working on this project for 4 months now (since early February 2016) and have finally decided to create a site to keep track of my progress. Check back here each month for new updates on how I'm going. My goal is to create a fully functioning Iron Man Mark 5 suit (from Iron Man 2, the briefcase suit). By fully functioning I mean that it will unpack from its briefcase form by suiting-up onto me, plus the repulsors can fire (with lights and possibly sound effects). The suit will also include a light up chest piece and eyes and I will be able to walk around in it like any other cosplay when suited up. Here is a video of the movie suit transformation that I am trying to replicate:
What have I done so far?
Right now I am working on finishing up the mechanisms for the upper arms. For each arm/leg I only work on the right variant and then mirror the design over for the other side when I have completed each part so all designs you will see shall be for the right side. At this point I have designed the fingers (excluding the thumb), the palms, wrist cover/joint, lower arm and mostly the upper arm. Below I'll be going into more detail about the approach I am using to create the suit then I shall lead on into how each piece I have designed so far looks and the mechanisms I have planed for each piece at this stage. I will not cover any mechanisms of pieces I have not yet designed as I only have a basic plan until I actually get to designing the piece itself.
How the suit will be made - The 3D printer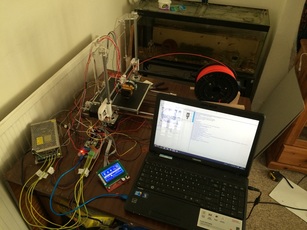
In February I bought myself a DIY RepRap 3D printer set off eBay for £250. Great price right? Well really I only just got it all setup perfectly a few weekends ago! After a mistake made in the handbook some boards got fried and we needed replacements, we got replacements then the hotend holder melted with a non-working fan. Next, the replacement boards broke again for no reason whatsoever. They just died. So after 3 months of breaking and replacing, breaking and replacing again, we finally got it working.
Thing is, the system wasn't perfect. What was wrong was that we had to have our laptop connected at all times to power the printer; That being the only computer at my dad's house was a problem. My solution was to set up a Raspberry Pi B+ I had laying around as what we would use to power the printer and to control it. Thankfully it only took me a couple of weekends to set that up, making our solution much simpler. Just save the design file as an stl file, slice that with preset settings in Slic3r, then put that on a USB drive. Plug that USB drive into the Raspberry Pi, turn everything on and press start. The nice thing about this is that I can design files, slice them up and email them to my dad at his house. He can then just put that on USB, turn on the printer setup and press start in the mornings before he goes to work. At the end of the day when he gets home, there is the finished piece all done.
How the suit will be made - Materials
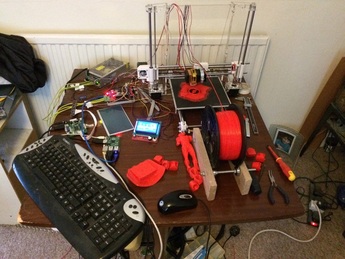
My plan is to pretty much fully 3D print this whole suit. Sounds insane but I think it's the right way to go. I can only really design by working within the software I use to actually see what I'm thinking and by it coming to life I can always see some kind of flaw I didn't think of. This way I can iron out any mistake before it is made and repeated creation of the same thing won't happen (unless I print and it is slightly too big,small for my body). Another reason I'm doing this is because my designed are quite complex when put with the curved faces of the suit and I literally can't think of any other way where I can be so precise with the mechanism designs.
Only problem I do have is that my 3D printer doesn't have a very big bed so print sizes are quite limited. This forces me to divide parts up. This isn't too bad as we can easily acetone weld them back together with acetone + dissolved ABS.
How the suit will be made - Electronics
I'm trying to keep the use of electronics to a minimum as having the suit wired all over require parts to stay linked by how they are worn. For example, I won't be able to break apart the abs/hips from the legs if there are wires going down to the bottom of the legs leading to servos that hold the suit together. I am highly depending on the use of in-built mechanisms and magnets to save the use of electronics This allows the suit to break apart for optimal packing as I want the briefcase to be as small as the possible compared to the movie/real-life suitcases.
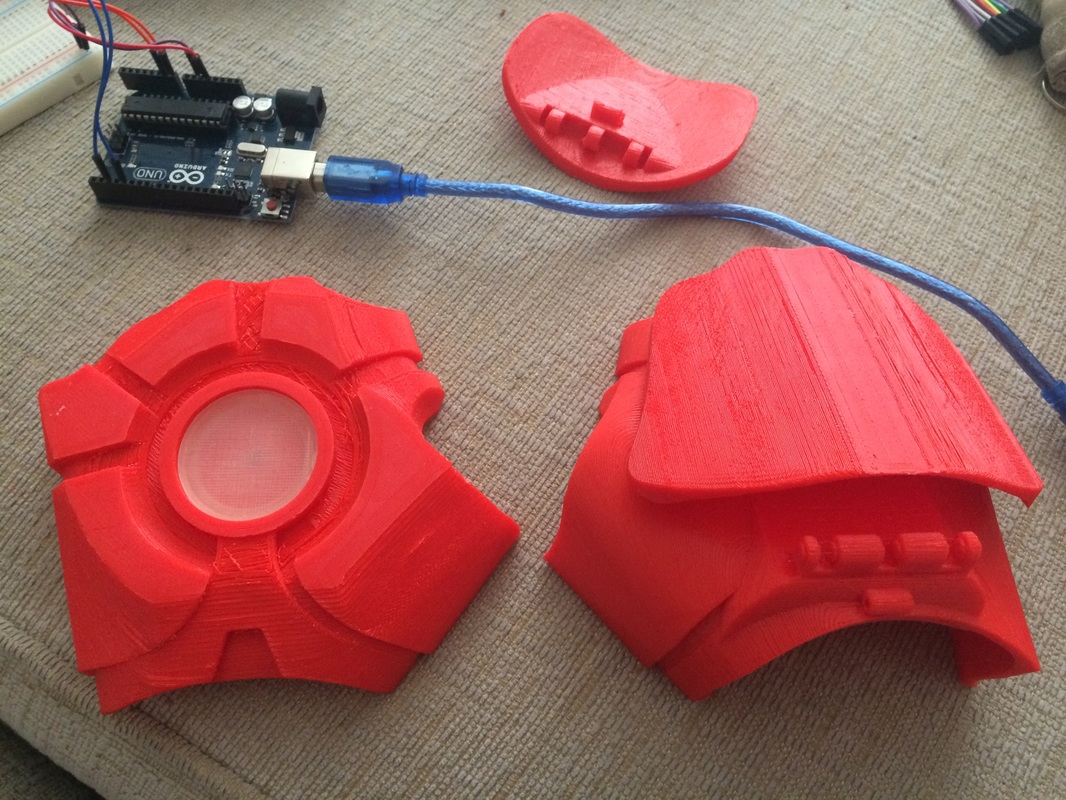
The system of electronics I am using revolves around a battery bank, an Arduino Uno, a couple of potentiometers, 2 Neopixel jewels, a couple Neopixel rings and some micro servos. So far I have only used two micro servos and I am trying to keep the use of them at a minimum as discussed. Right now I have the two jewels and the two potentiometers hooked up to the Arduino Uno with a little breadboard.
I spend about 2 full days when college wasn't on learning how electricity worked, how arduino programming worked, power distribution and learning how to implement the Neopixel library into the system. I did this all through reading the Neopixel Uber Guide on Adafruit.com and watching YouTube tutorials by Jeremy Blum. You can find his Arduino tutorials here: https://www.youtube.com/watch?v=fCxzA9_kg6s&list=PLA567CE235D39FA84 I also watched some other electronic basics videos by him to better my understanding.
So code wise here is what it looks like right now, very basic but I will add the queues for the servos later on when the suit is complete as then I'll know about timing and how fast I can get into the suit (I expect it will be almost as fast as the movie scene). I will show you the code each time I update it if you're interested so stayed tuned for more updates.

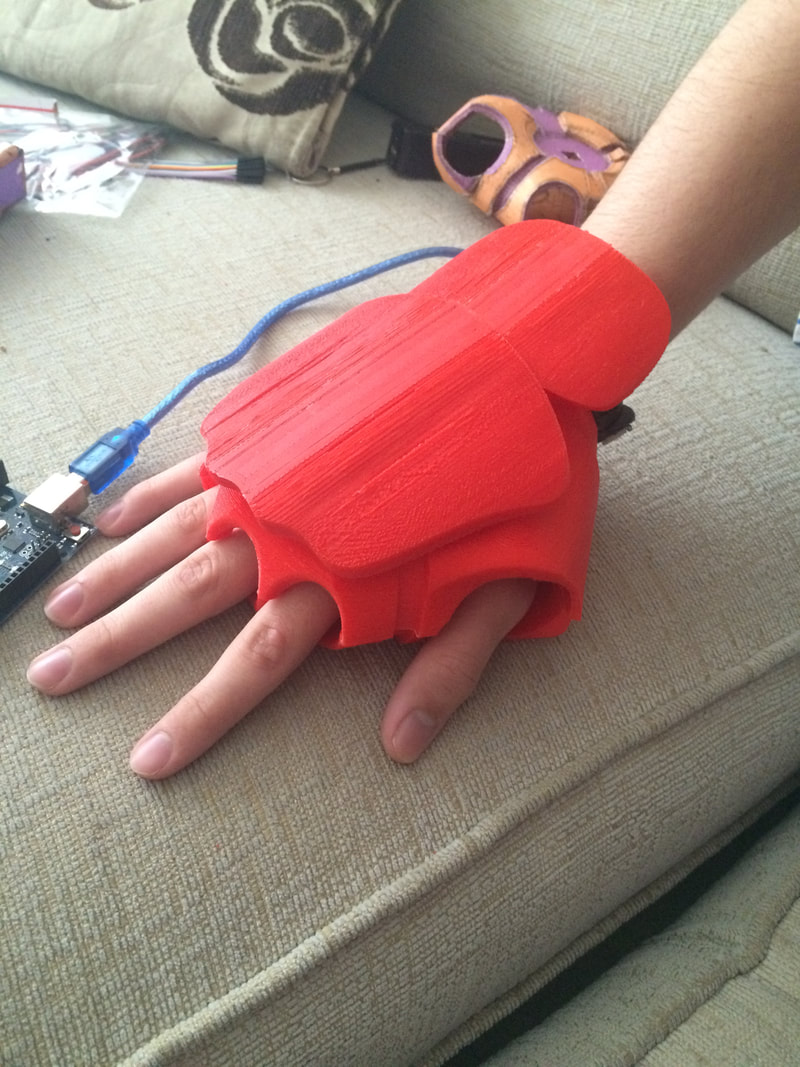
Designing the suit - The fingers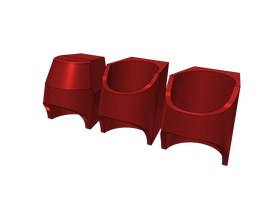
Now these were tricky. I had to find the balance between fitting my fingers, not being too loose and being loose enough that I can still fit them on with a glove on. I solely used circle sketches to create these shapes with line sketches to chop each finger piece up. In the beginning I made them using squares and slicing them up weirdly. This ended up with ring looking pieces which broke really easily. I printed them from the top down which made the thin under finger joints really weak. From experience I now know to print them vertically. The way each layer of the lower finger ring is part of the same layer inside the made finger area strengthens the build plus having it build with a much thicker bottom and in a cylinder shape increases it's strength even more. It took me about 4 attempts with the pointer finger until it was perfect and I have only made 2 models of the middle, ring and pinky fingers so far. I haven't tried them out yet but I think I have got the, perfect now.
As I said, I need to fit them on while wearing a glove. All I'll do is glue them to the glove to keep them on. I'll do this after I have spray painted both the glove and the fingers in the same colour. I also plan to cut up some tubing to glue onto the insides of the fingers. This should fill out the gaps on the inner fingers and the tubing looks just like the filling in the movie suit. Of course I will paint them the same colour as well and glue the finger pieces over them. I plan to assemble the hands very soon so expect images of that in the next update.
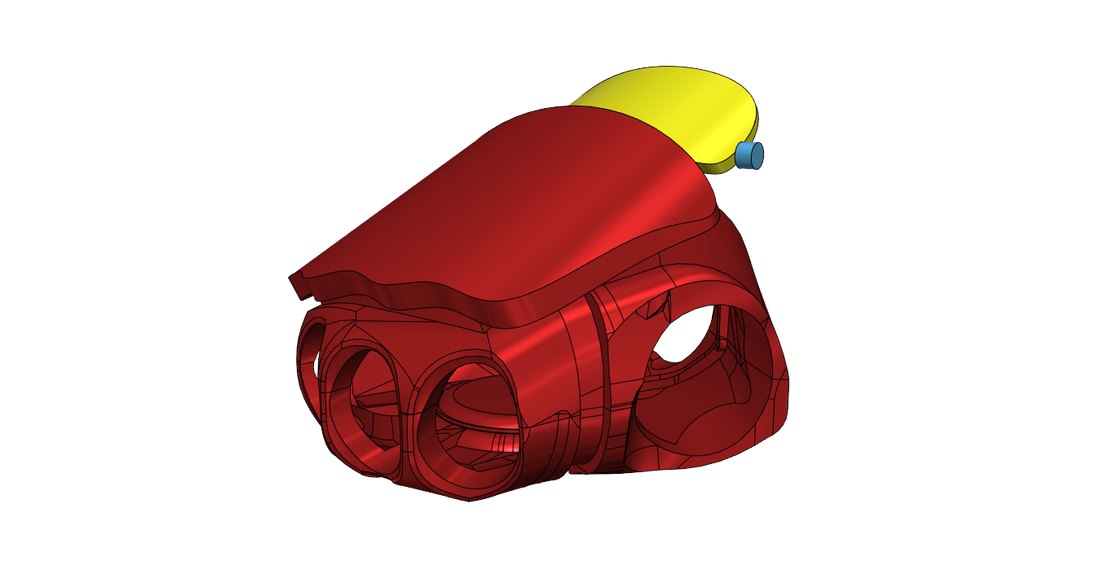
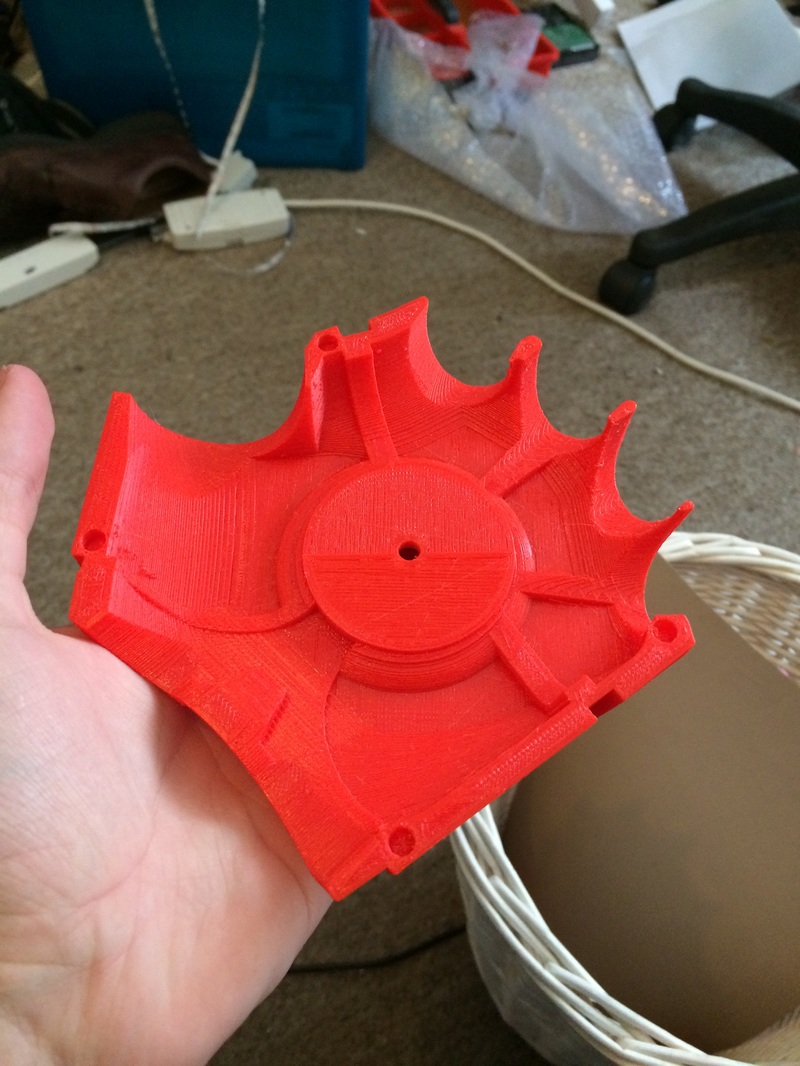
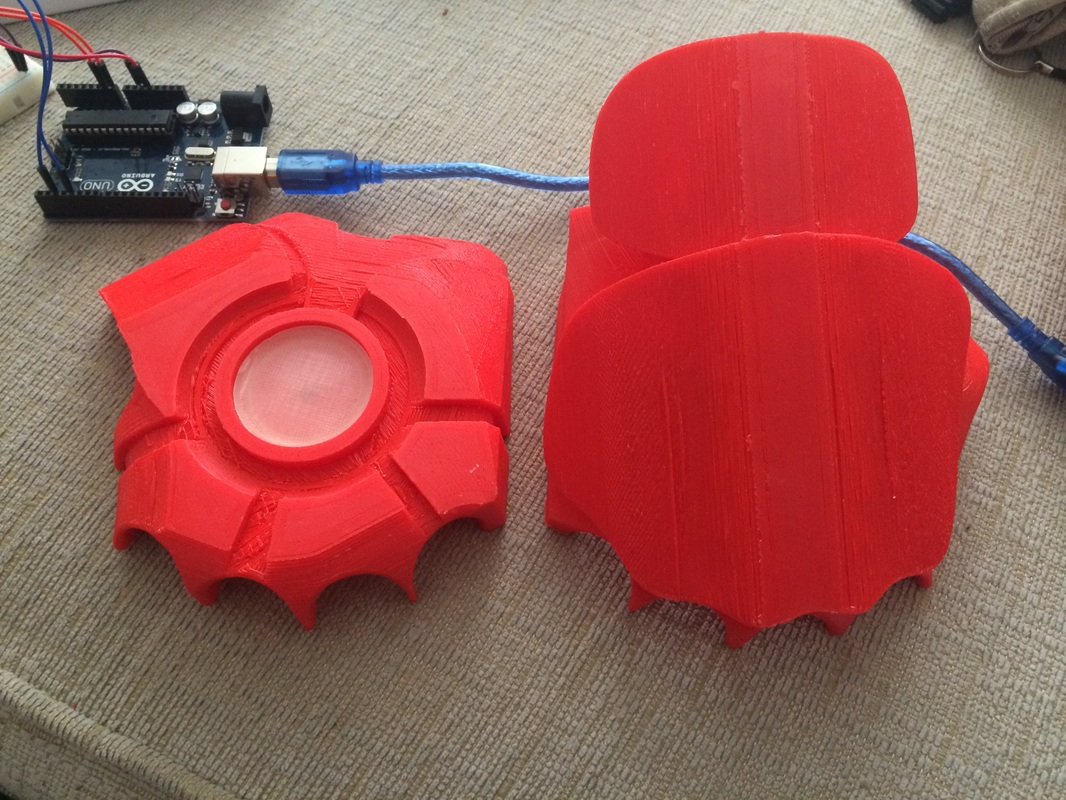
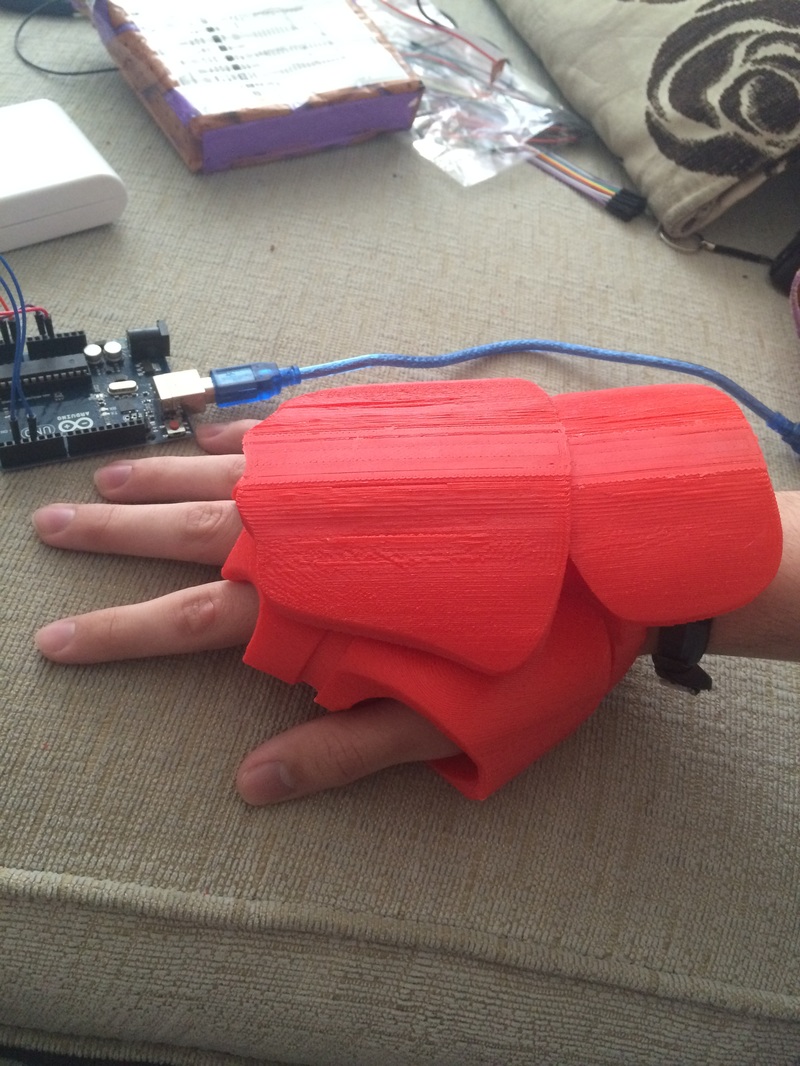
Designing the suit - The chest/palms
This worked pretty well but I had issues being precise with where the cuts started and ended. Finally, I figured out how to cut solids with sketches and this has been how I have mainly reshaped objects since. After playing around with some tools like the mirror, fillet, chamfer, pattern, split face, split solid, push/pull and loft tools I have been learning rapidly how to best design all the models I have made so far.
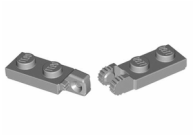
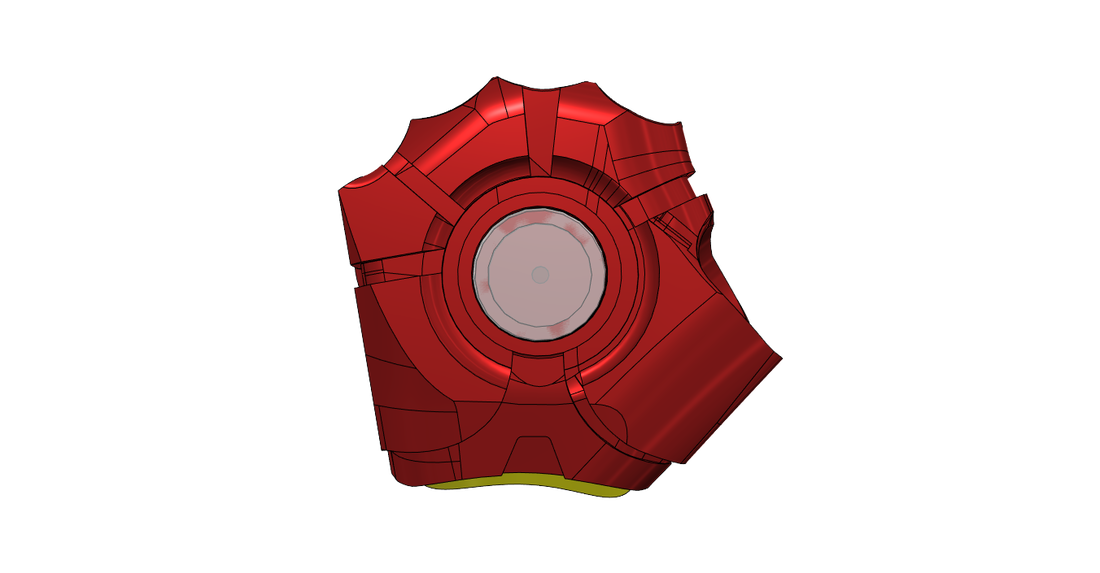
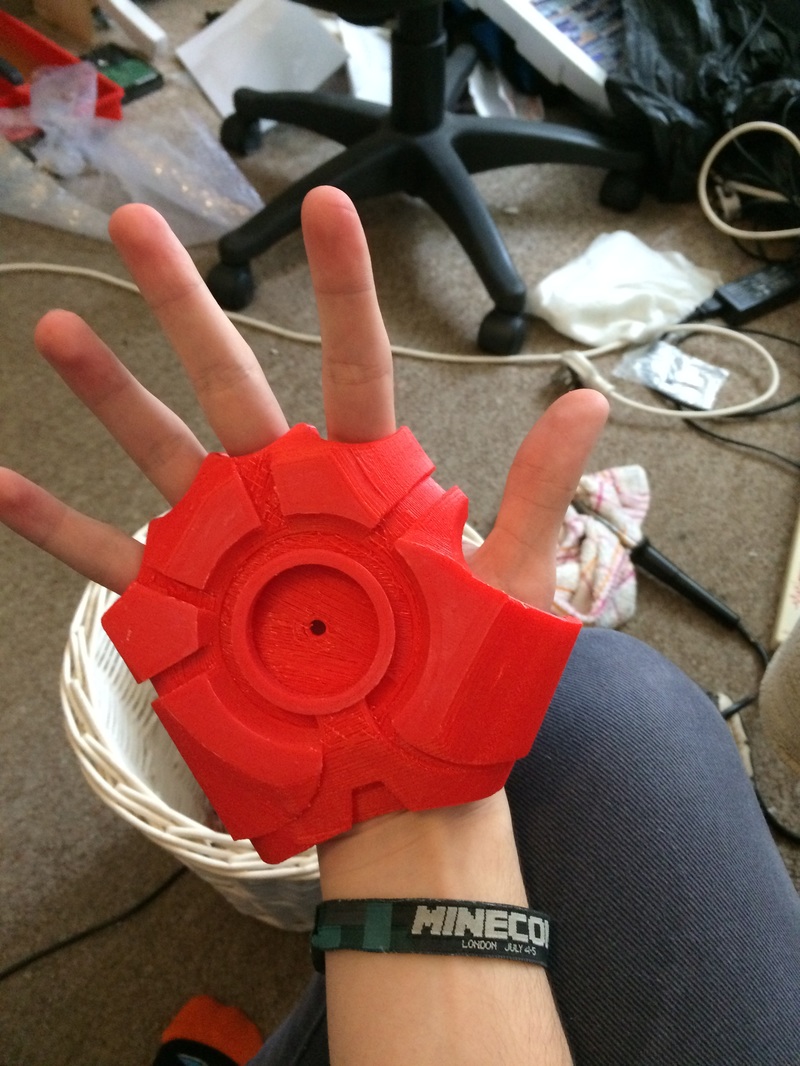
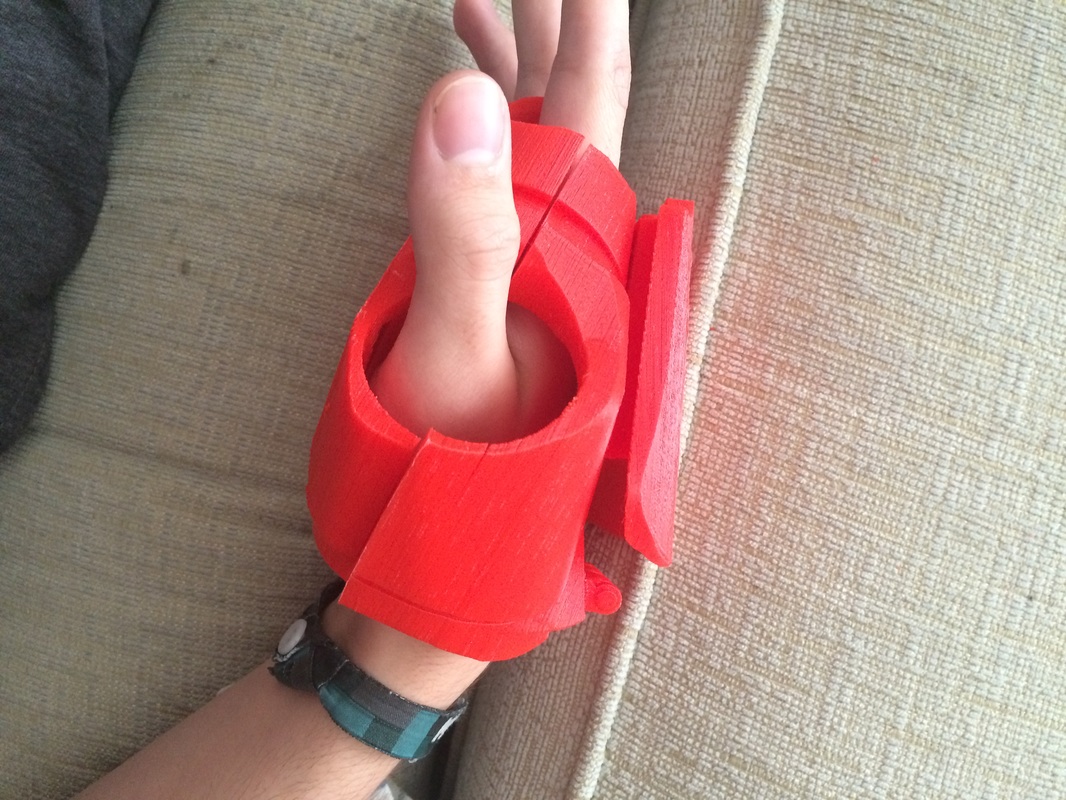
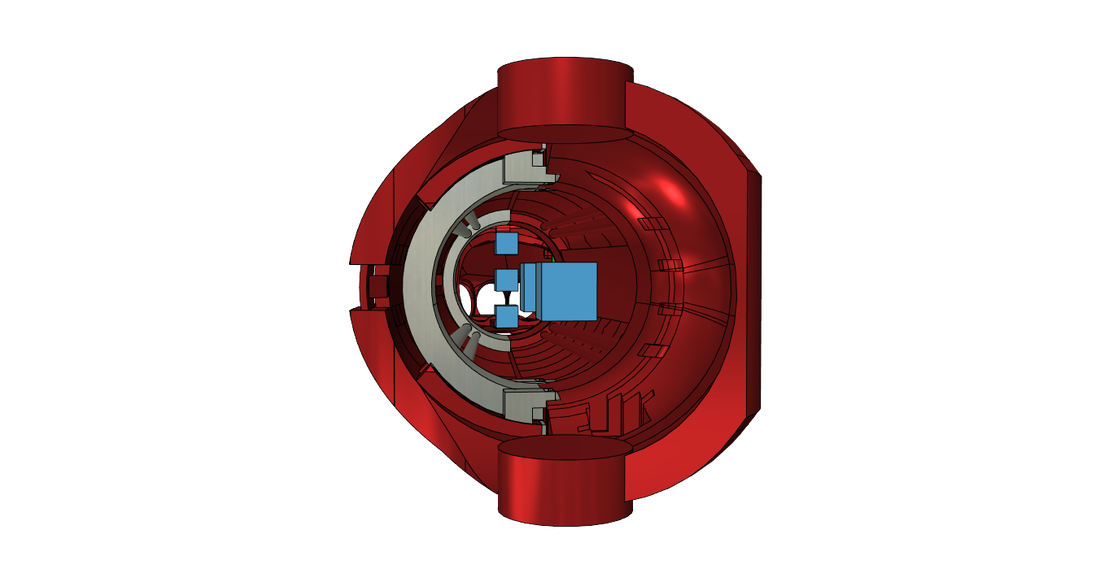
After completing the basic palm it was then time to edit it so it was like the Mark 5 suit palms. I then worked on cutting the shapes for the cover plates with curved sketches and by using the fillet tool. I also had to add blocks on the back of the hand to attach onto the back of the palms. The next challenge was how I was supposed to get the wrist cover to rotate so when I lifted my hand it would tilt up to stay inline with the arms. I thought about just putting a rod inside but I didn't really know how I would hold the rod in place on either side so my dad suggested I used the same idea as those Lego pieces that snap together. So far I have yet been able to test if this connection works but in the next update I will say if it did or not and what I did if it didn't. The idea behind this was so if it was pushed by something and was to snap off, instead it would just pop off the hinge and I would be able to click it in again.
After separating the repulsor piece from the palm for printing separately in a transparent filament I left the palm as is and started working on the lower arm. The one last thing I wanted to do was have a wrist joint that could measure the angle of which my arm was so I could then control the repulsor lights with that measurement. I only added this on when I thought I had completed the lower arm.
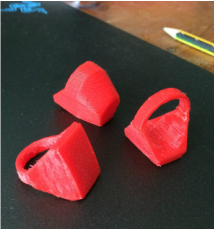
So just 2 weeks ago I 3D printed the palms and they looks great. Sadly, two problems. First, I forgot the print the palm version with the added holder for the potentiometer and secondly, The palm was slightly too big. So next I got the right version of the hand and scaled that down with a scale factor of 0.96. A few days ago I had the upper palm re-printed and I think the scale is just about right. I may need to cut out a bit more of the wrist opening so I can definitely bend my hand completely upright but we will see when I have fully assembled the hand and also the lower arm.
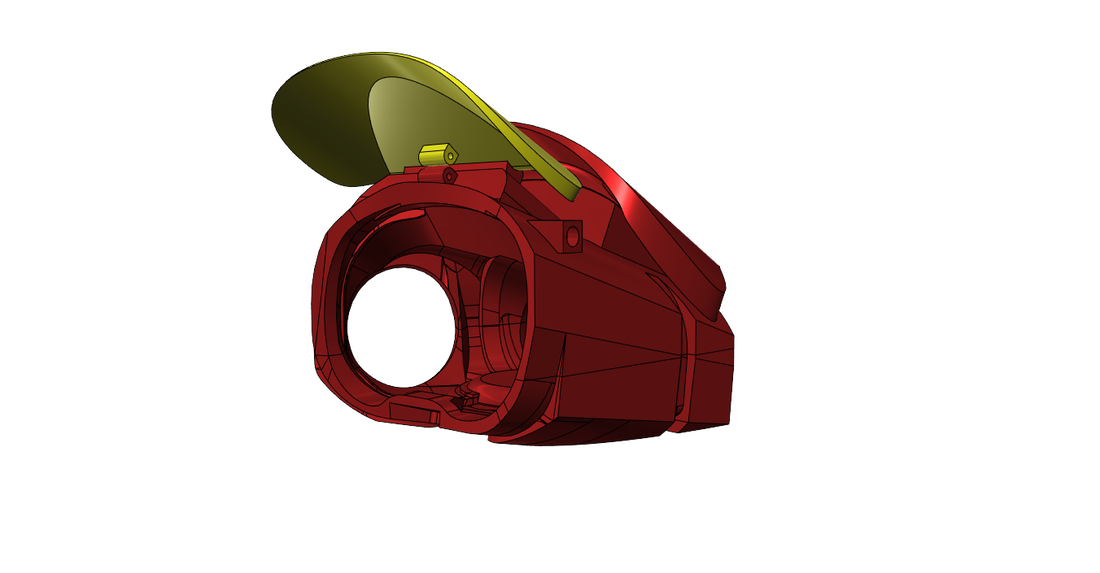
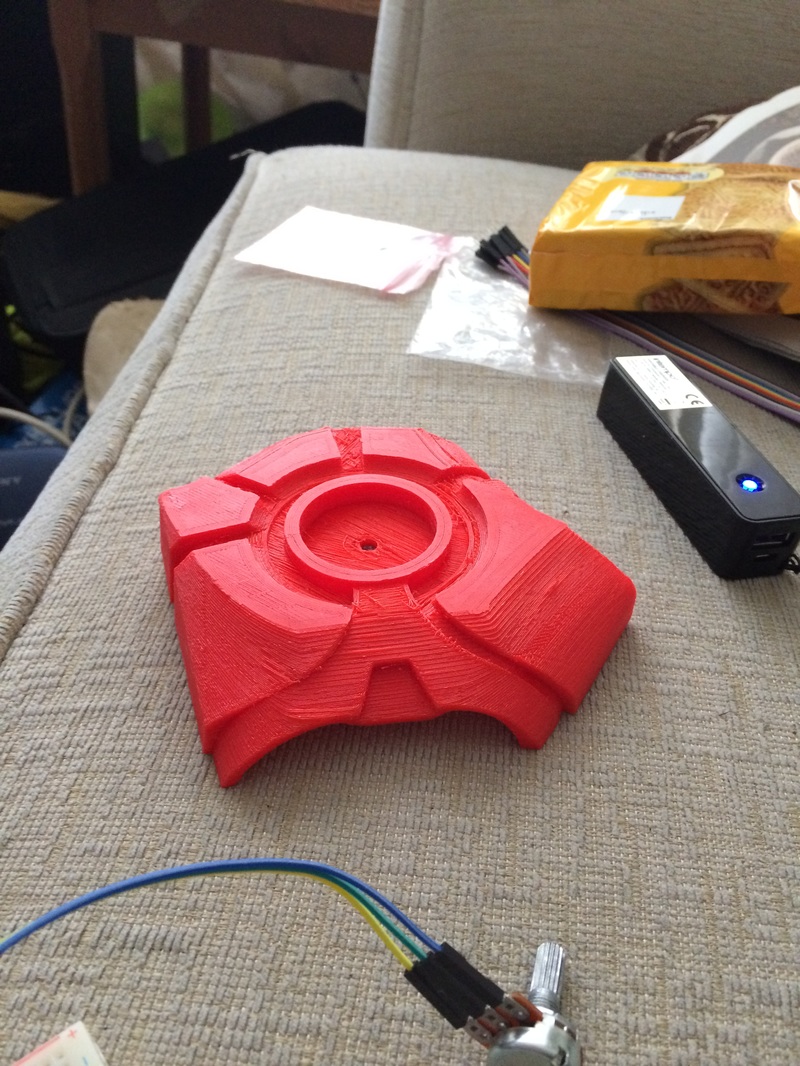
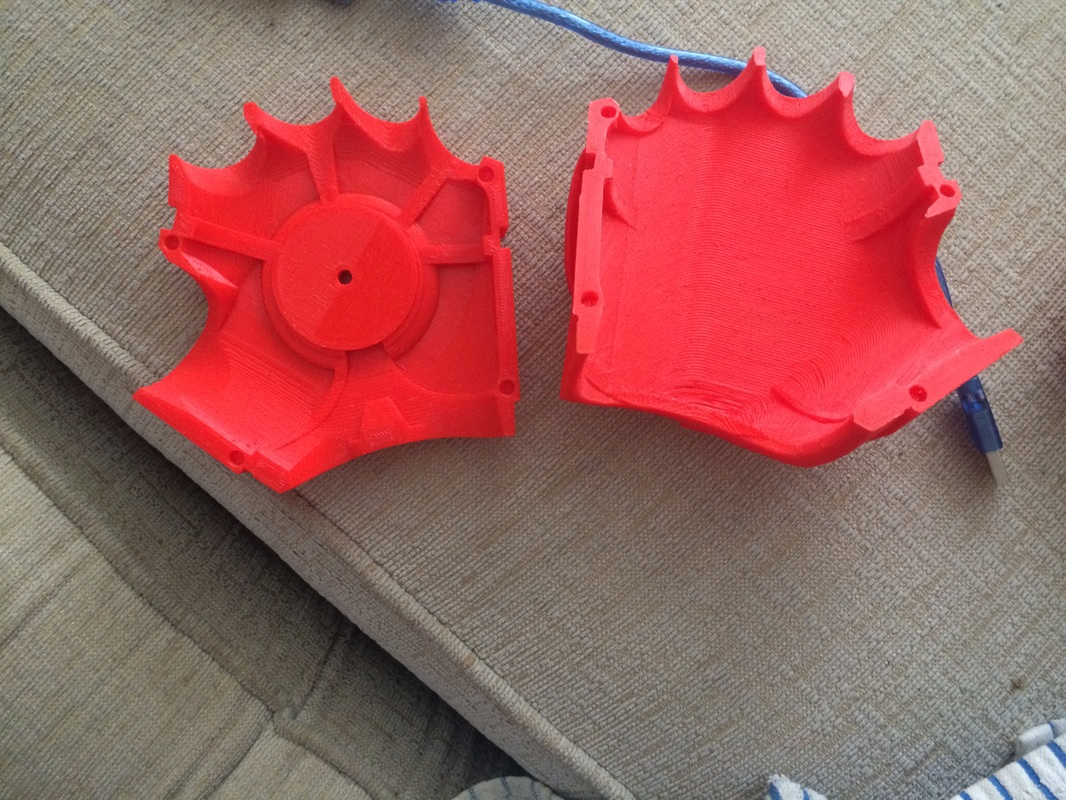
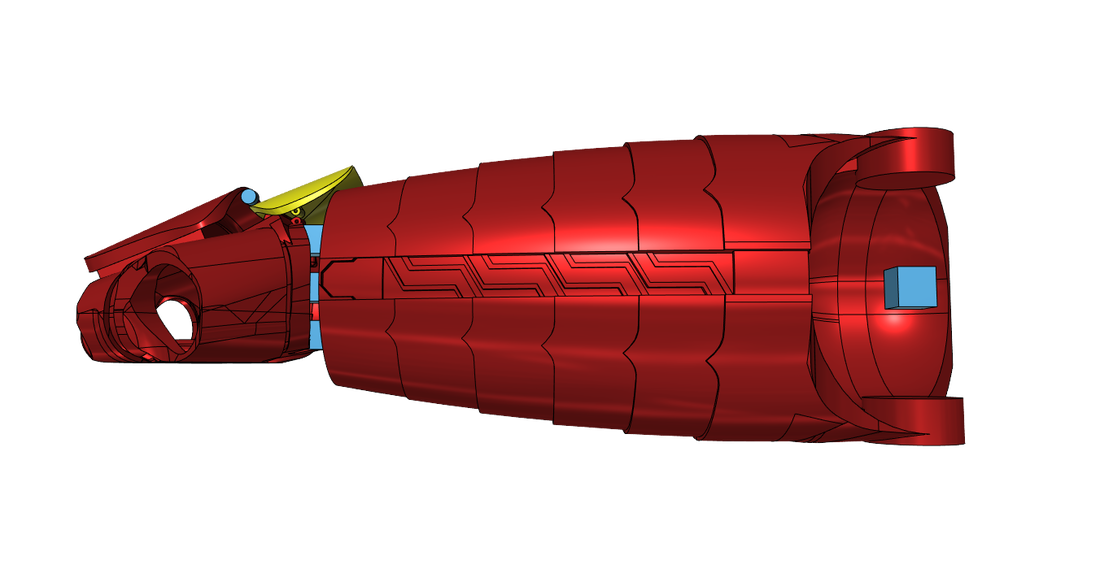
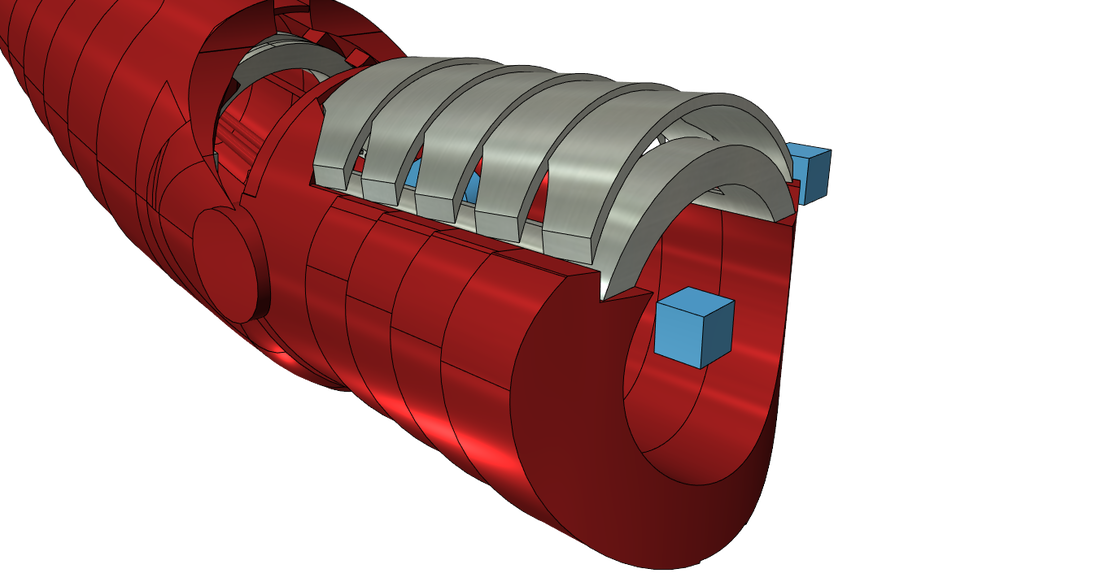
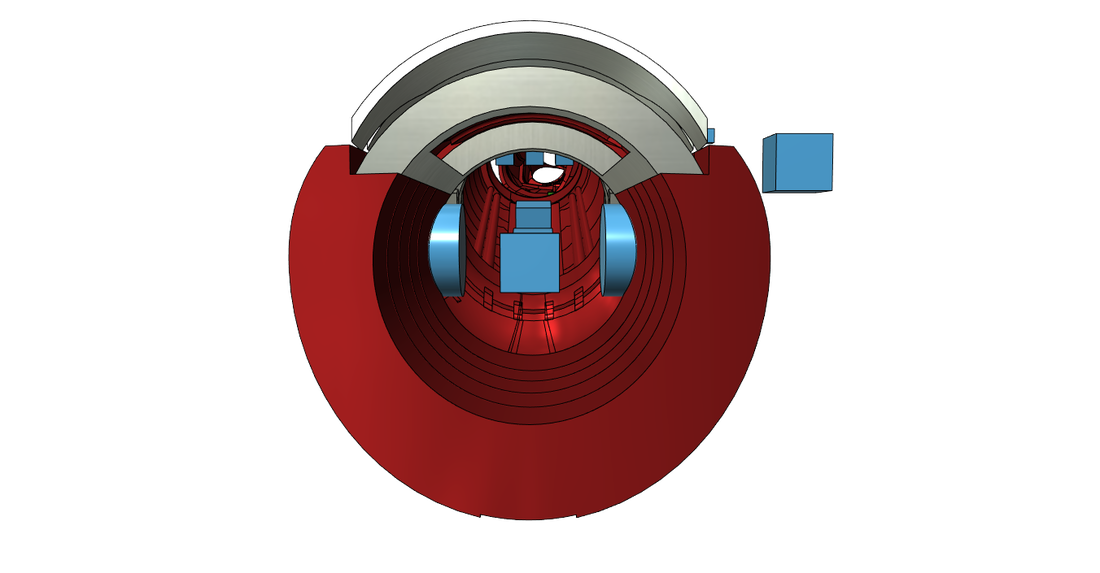
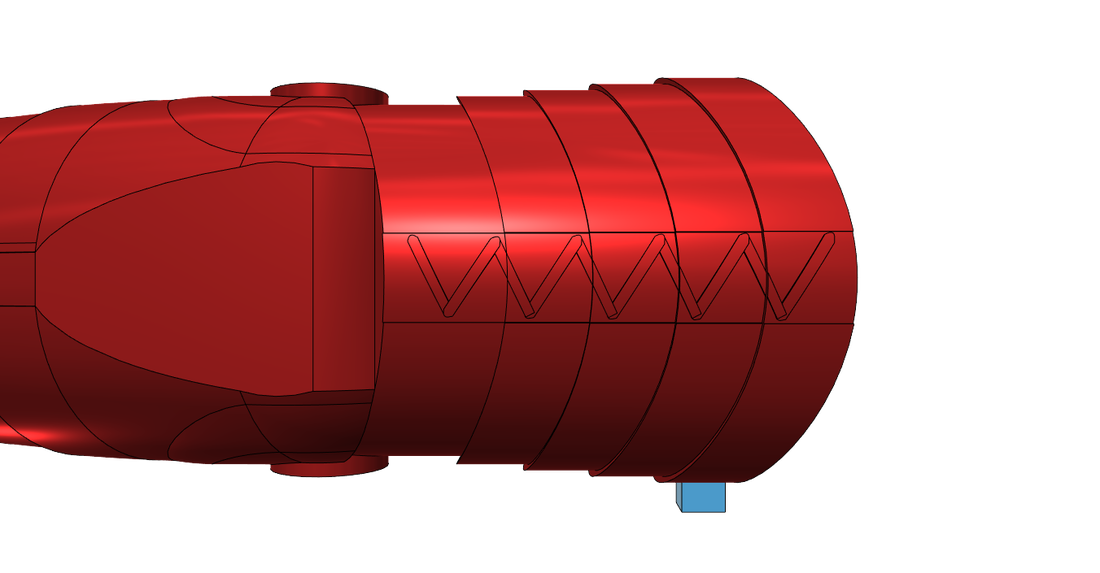
Designing the suit - The lower arm
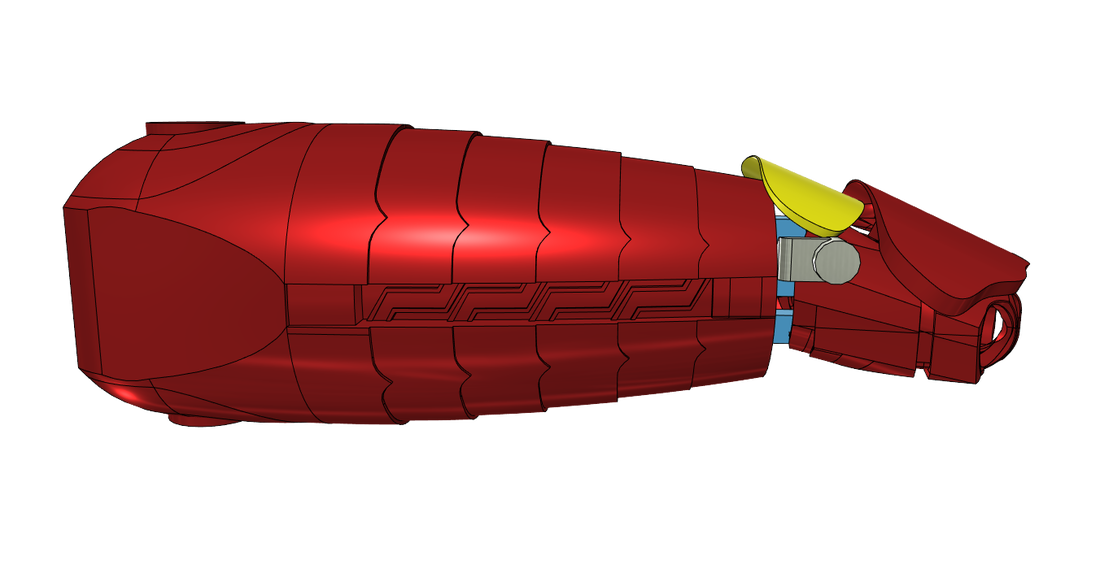
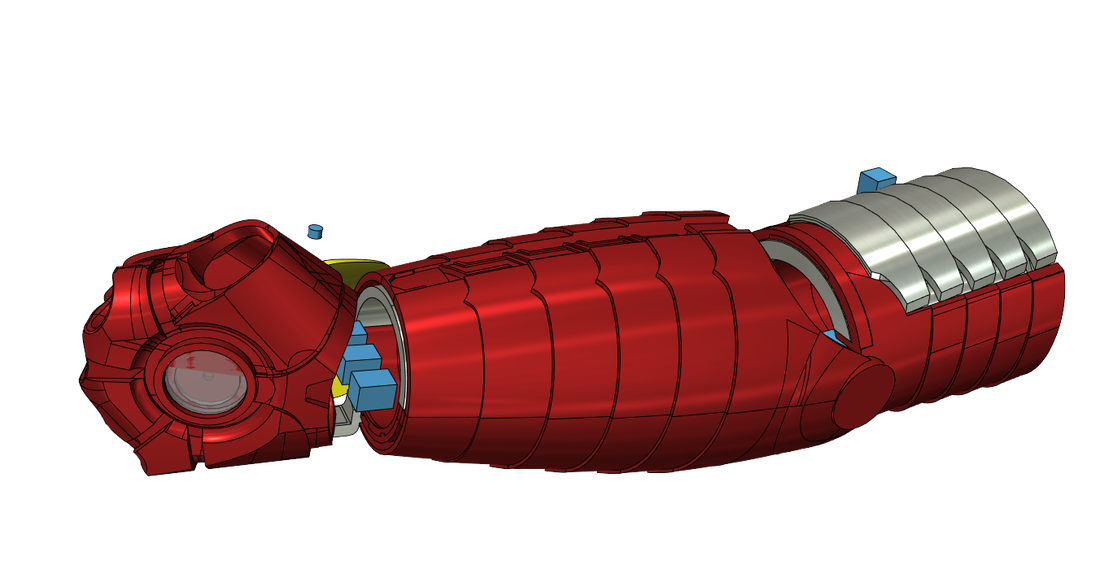
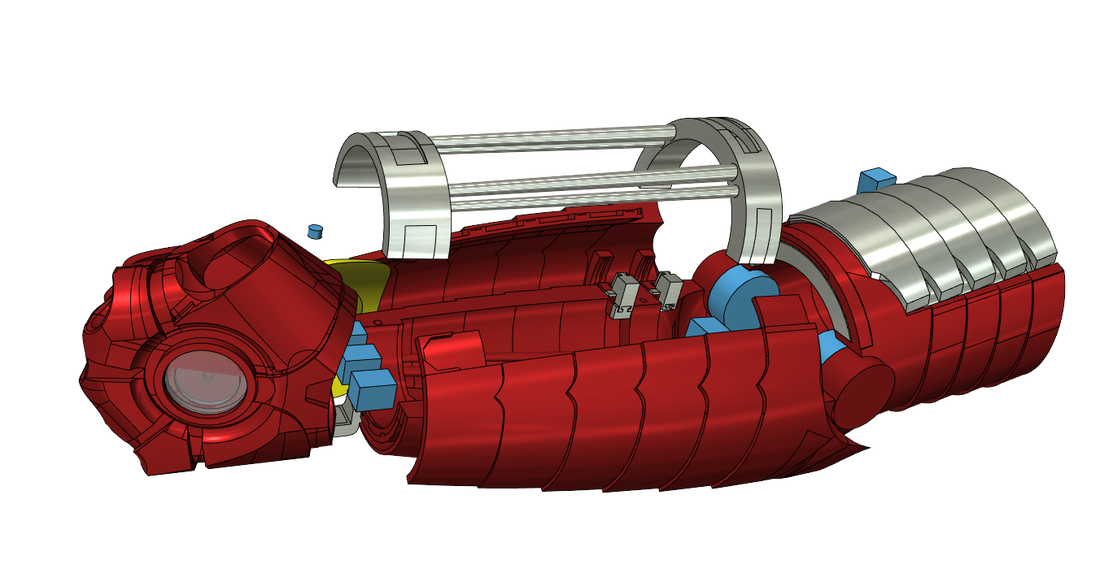
I'm now at a stage where I have built in slots for a micro servo to fit in to pull the arm pieces together, at the right time, via some fishing rod wire or equivalent. This is the stage at which I chose to design my wrist joint to the palm. The idea was to have a curved bar stretch out from underneath the arm that would have an extended holder for the potentiometer. This potentiometer would then slide into a holder made out of a block that I would then merge with the palm and curve the edges on the inside so that I would hardly feel it when wearing the gloves. The bar would fit into a rail that curved around the bottom of the lower arm and I would allow some leeway for the bar to move in and out. Next I need to really work on making the lower and upper arm thinner but of course I'll be having issue with where the servo will fit.
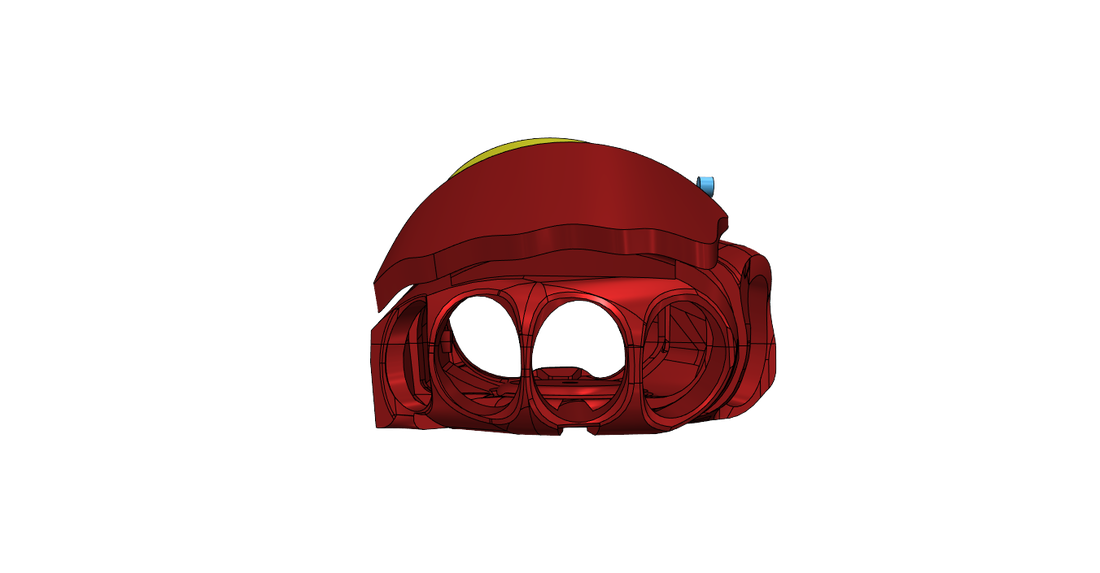
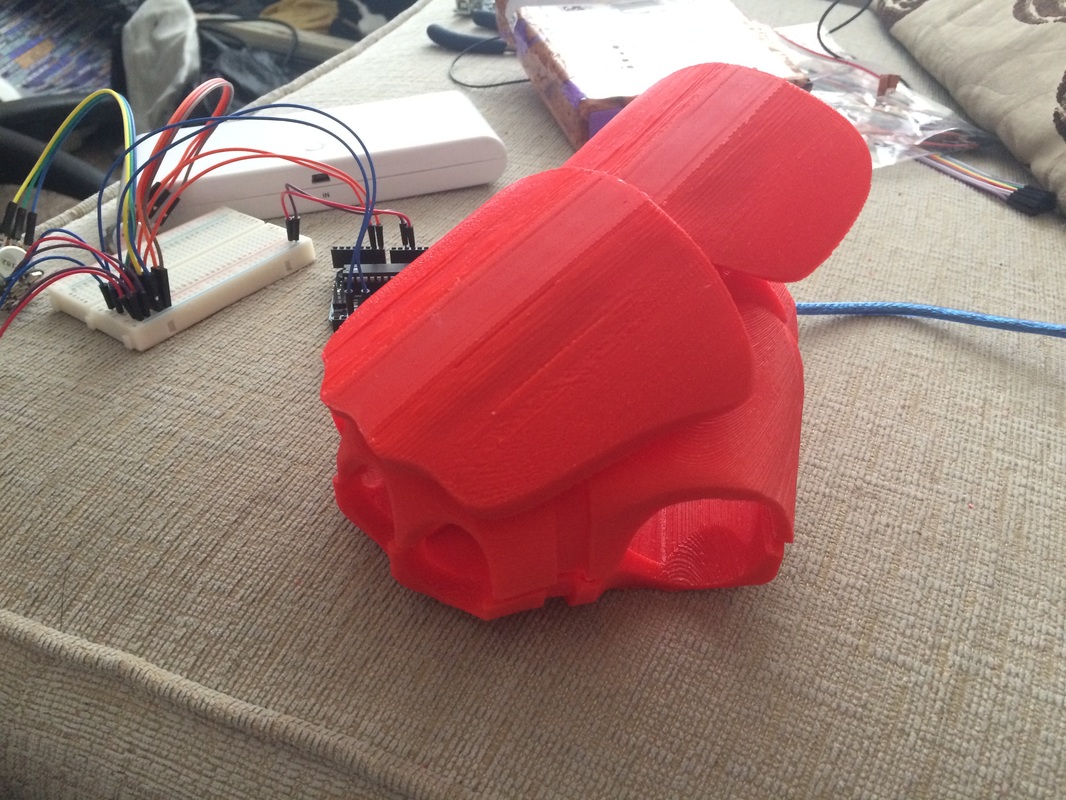
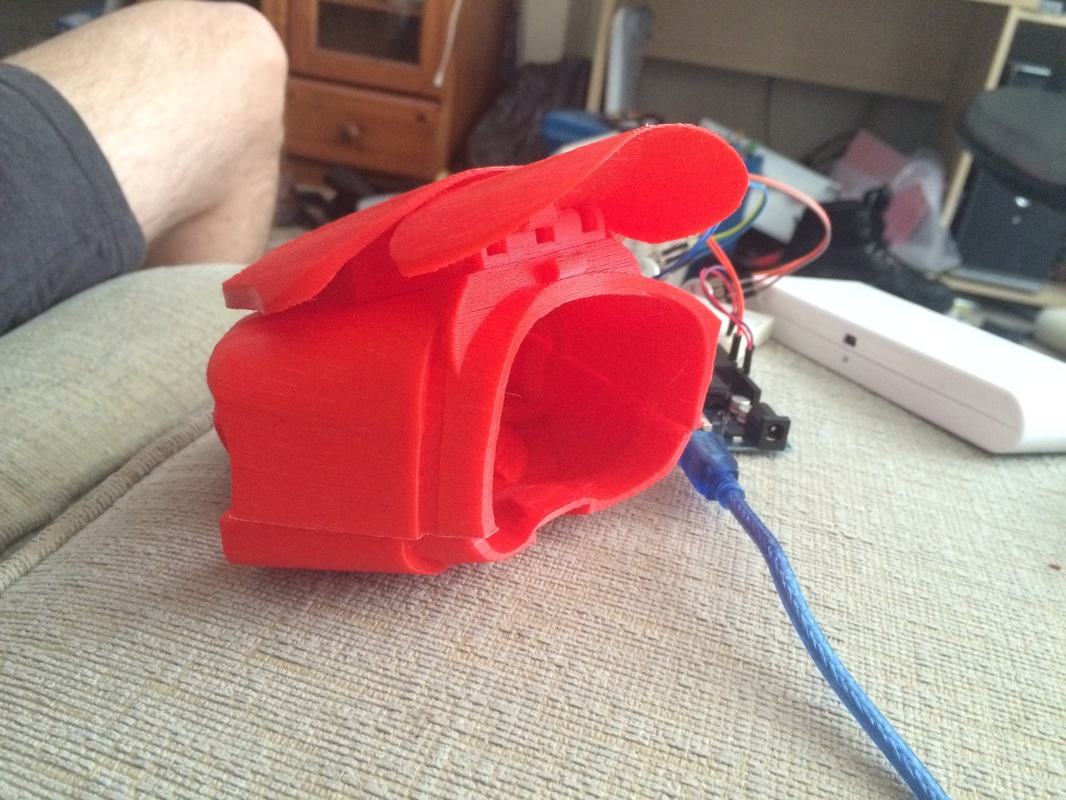
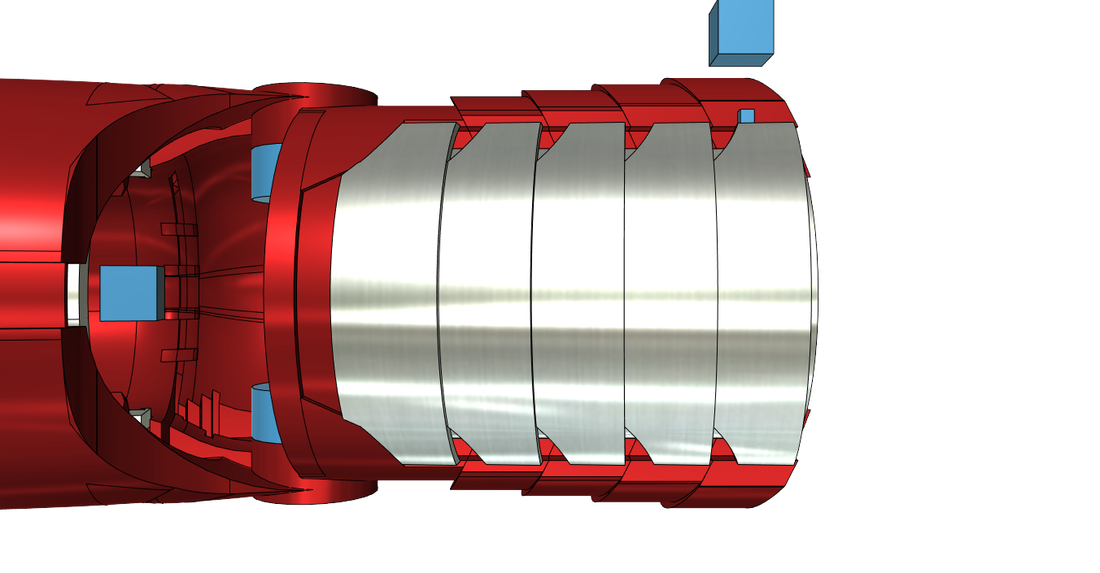
Designing the suit - The upper arm
For the elbow joint I plan for a couple of cylinder attached to the bottom sliding piece to lock into the outer cylinders of the lower arm, on the elbow cover. I only plan the joint to be made with a magnet glue into each cylinder for a simple magnetic bond so I can break the joint easily for when I take the suit apart again. I don't have too much else to say about this piece as it isn't complete yet but by the next update I plan for it to be finished, so stay tuned.
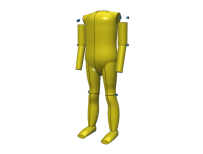
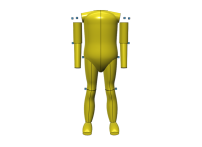
Designing the mannequin?
The Summary
So I'll be posting a new update every month released closer to the end than the beginning. I'm not gonna say a specific date but a new Facebook post for each new update will let anyone interested know. Thanks for reading and I look forward to getting back to working on the suit (this first blog has taken aaages to write! Haha.
-Cirtoyt
0 Comments
|
Author17 year old college kid who felt his course was too easy for him. Got bored one day and started making a real life iron man suit. Archives
June 2017
CategoriesBack to main site:
|